Workspaces#
A Workspace is a collaborative environment where teams and individuals can organise, manage, and control access to their applications.
Getting Started with Workspaces
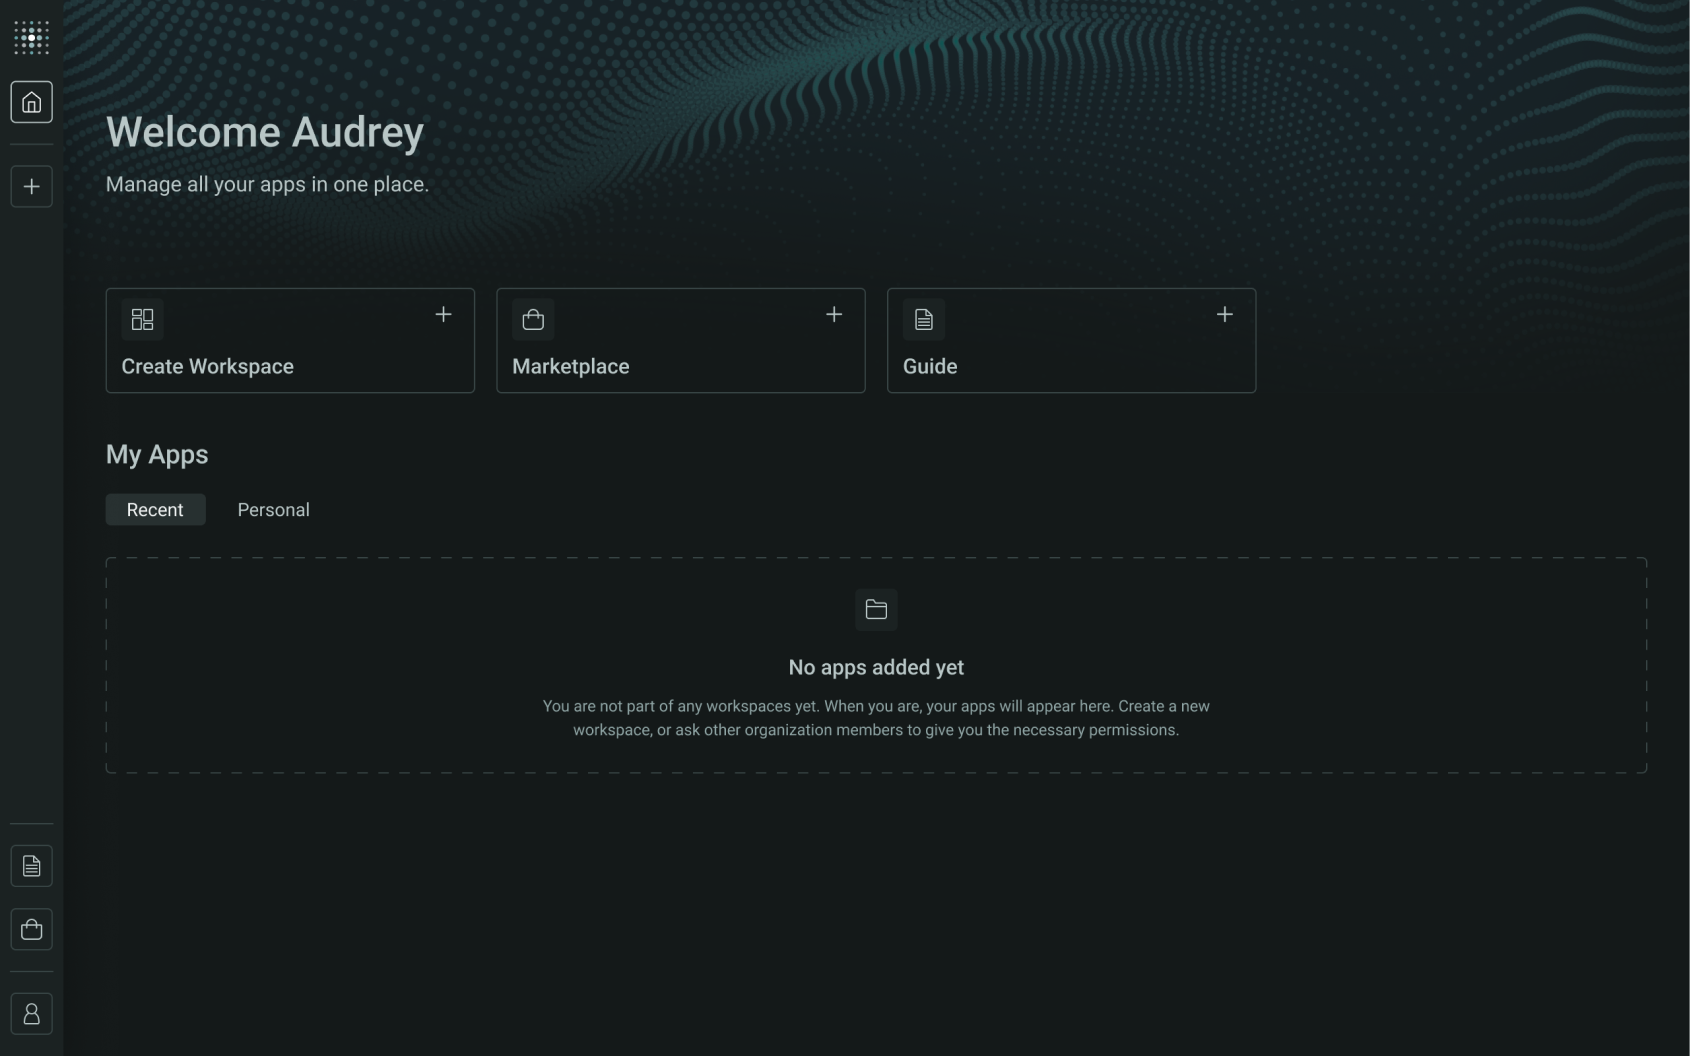
When you sign up or log in, you’ll arrive at your homepage. From here, you can:
- Create a New Workspace: Set up a fresh Workspace
- Join an Existing Workspace: Accept an invitation to collaborate in a Workspace created by someone else.
The following page explains the key options available for Workspace Admins and Owners via the App Menu:
- Creating a New Workspace: Step-by-step guide to creating and organising a new Workspace for your team.
- Workspace Details: How to edit the Workspace Name, Slug, and Logo.
- Workspace Transfer: Learn how to transfer Workspace ownership.
- Delete Workspace: Permanently delete a Workspace and its resources.
Creating a New Workspace#
Creating a Workspace is the first step towards organising your apps and collaborating with your team. Follow the steps below to get started.
To initiate Workspace Creation:
- Click the Create a Workspace button in the side navigation bar.
- Alternatively, select the Create New Workspace option from the Quick Actions section in the main content area of the Homepage.
Set Up your Workspace#
You’ll be prompted to give your Workspace:
- A Workspace Name: Enter a unique name for your Workspace. The name automatically generates a slug (a URL-friendly identifier), which you can edit.
- A Workspace Slug: Automatically generated.
- Adding a Company Name (Optional): Personalise the Workspace further by including your company name.
What is a Slug:
- A slug is a user-friendly string that uniquely identifies a resource within a platform.
- It serves as a unique identifier in the SDK, enabling precise identification of resources being created or accessed, and is also used in links to make URLs more readable and easier to share.
- Slugs are typically generated automatically based on the resource's name, such as a workspace, app, or data connector.

Upload Workspace Logo#
To customise your Workspace further, you can add a Logo.
This logo will replace the placeholder initials. Once uploaded, the new logo will update both on the placeholder in the workspace setup screen and in the main navigation bar.
To upload a Workspace logo:
- Click on Upload Image.
- Select a local image.
- Click Open.
Note
Supported formats: JPG, SVG, and PNG. Maximum file size: 1MB.
![]()
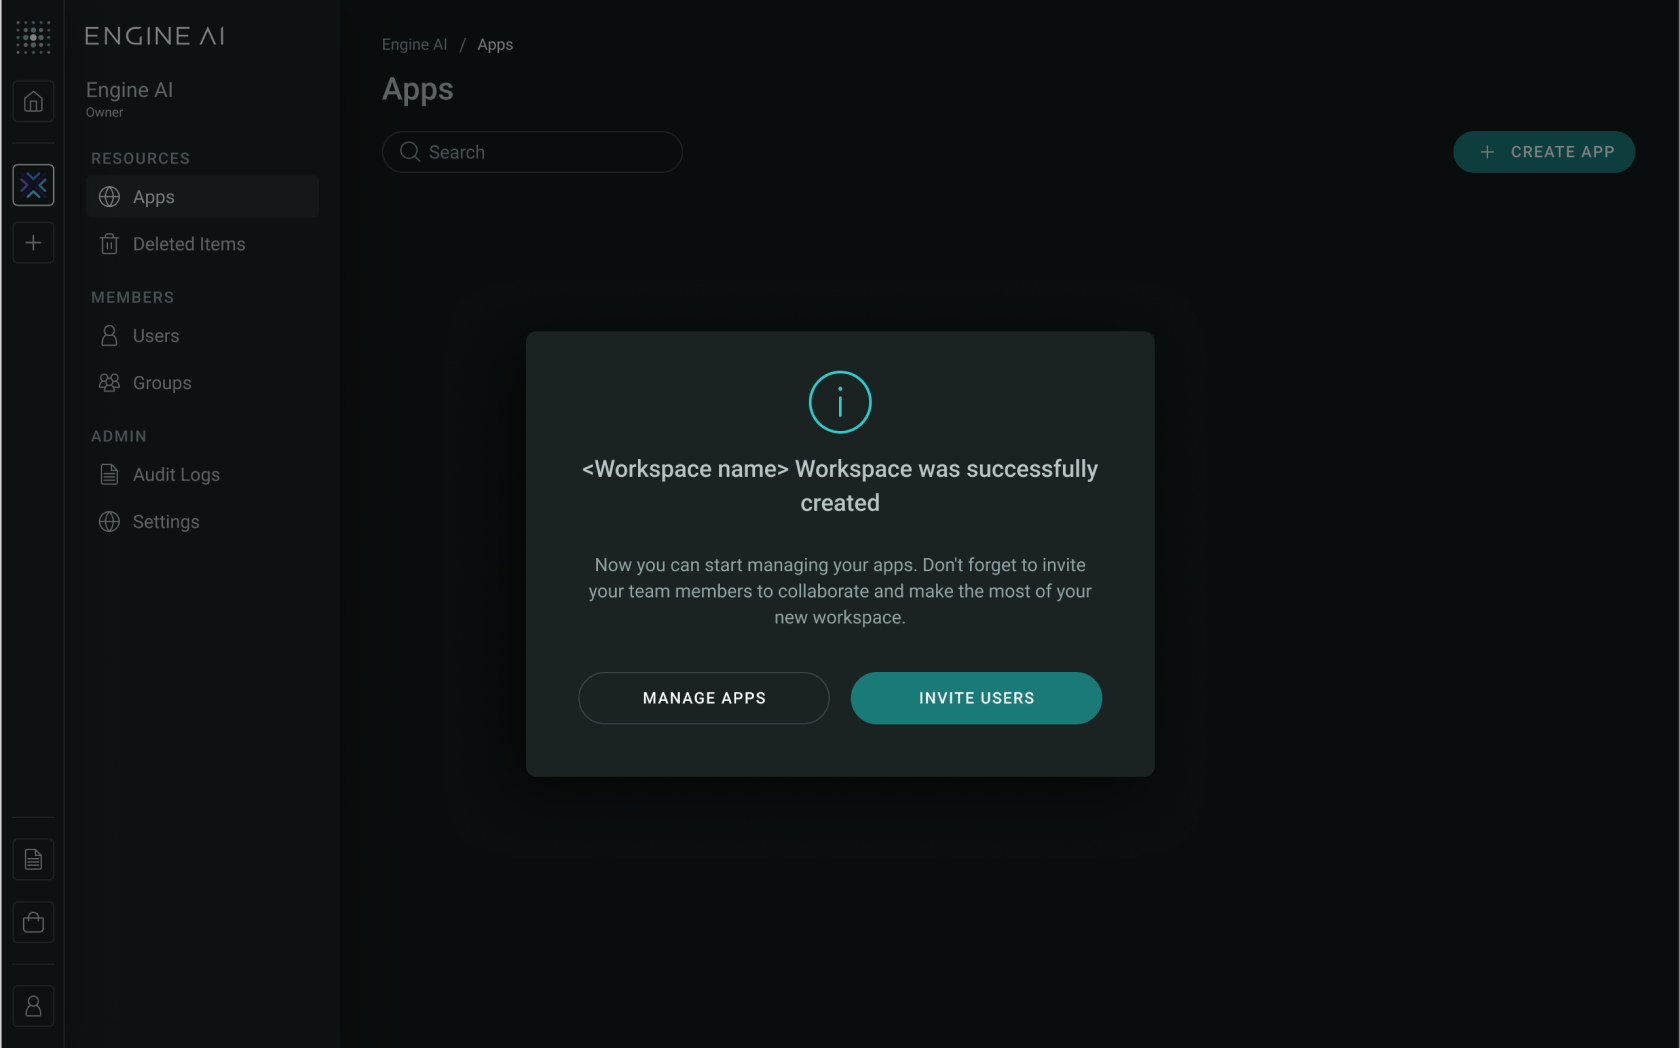
Once your Workspace is successfully created, you will see a confirmation modal offering two options:
- Go to Manage Apps: Start creating and managing apps within your new Workspace.
- Invite New Users: Add team members or collaborators to your Workspace.
Inviting users to your Workspace is essential for collaboration. Detailed instructions can be found on the Users Page.
You can assign different roles to users based on their responsibilities. To learn more about Workspace Roles, please refer to this guide.
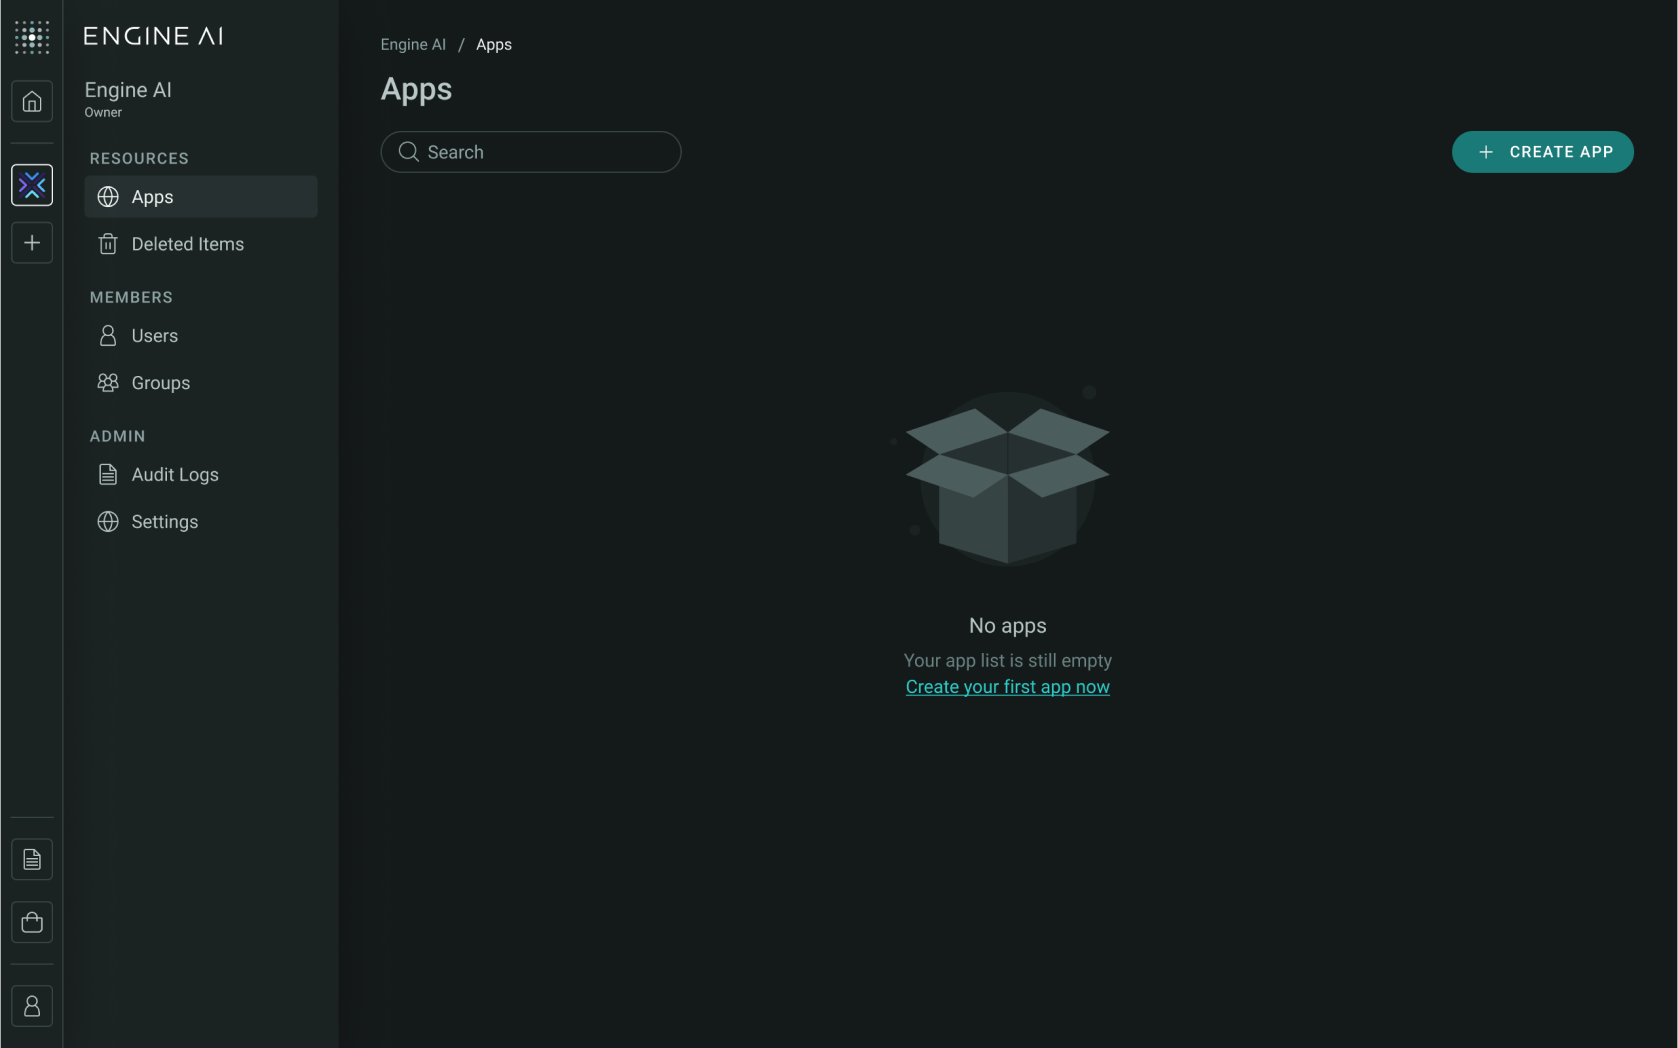
As you’ve just created the Workspace, there won’t be any apps within you Manage Apps page.
To begin creating an App, click Create App.
Workspace Settings#
Workspace Settings enable Owners and Admins to manage and configure their Workspace. Here, you can edit your Workspace name, slug, upload or remove the Workspace logo, and transfer Workspace ownership.
You can access Workspace Settings through the Platform Portal’s main navigation menu.
In the following sections, we’ll cover:
- Workspace Details: Edit Workspace Name, Slug, and Workspace Logo.
- Workspace Transfer: Transfer the ownership of your Workspace.
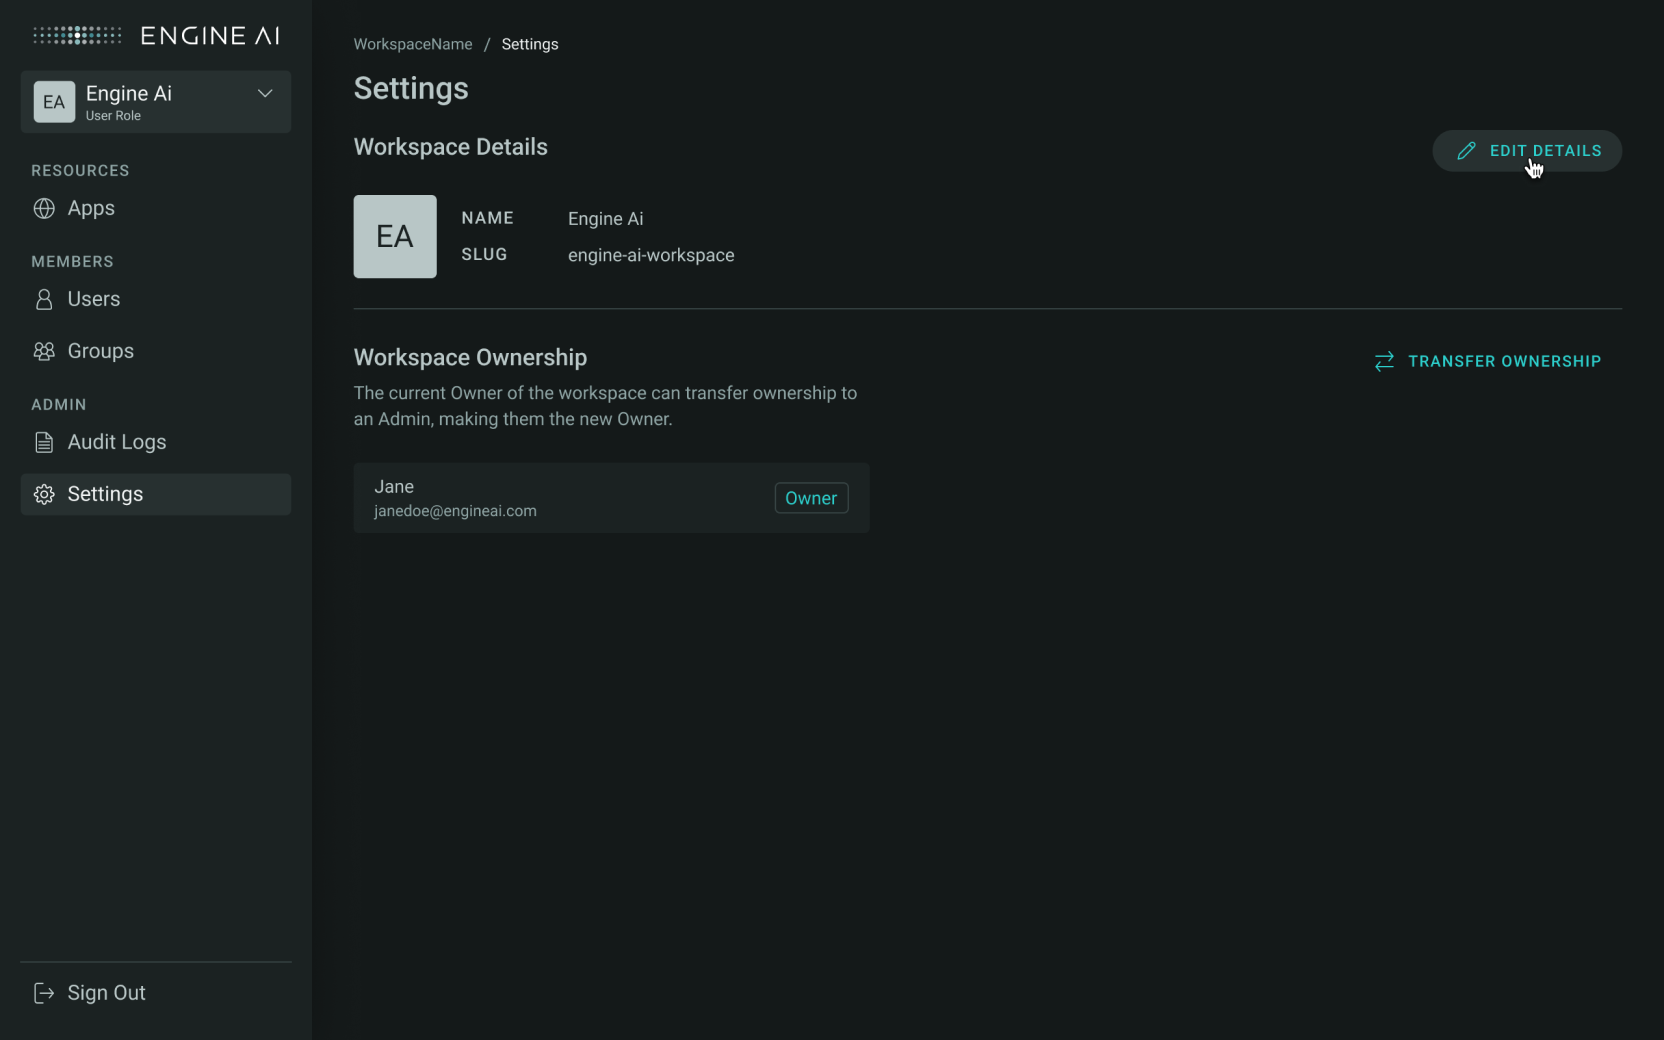
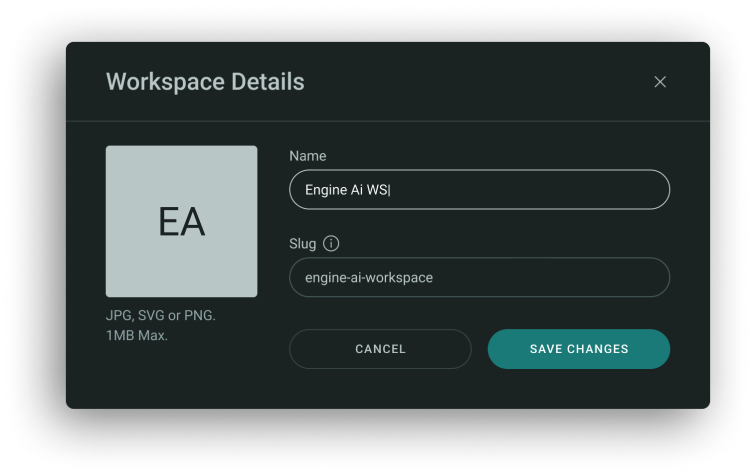
Workspace Details#
Owners and Admins can adjust Workspace Details, such as Name, Slug, and Workspace Logo.
To update Workspace details:
-
Click Edit Details under the Settings page.
-
The modal window will appear.
-
Please change a slug, name, update or remove your workspace logo.
-
Once you’ve made your changes, click Save Changes.
Note
Keep in mind that changing the slug will break any existing URLs, so you’ll need to use the new slug to access the app.
Transfer of the Workspace Ownership#
Only the Workspace Owner can transfer ownership to an Admin within the Workspace. The Owner will consequently becomes an Admin, admin permissions remain unchanged.
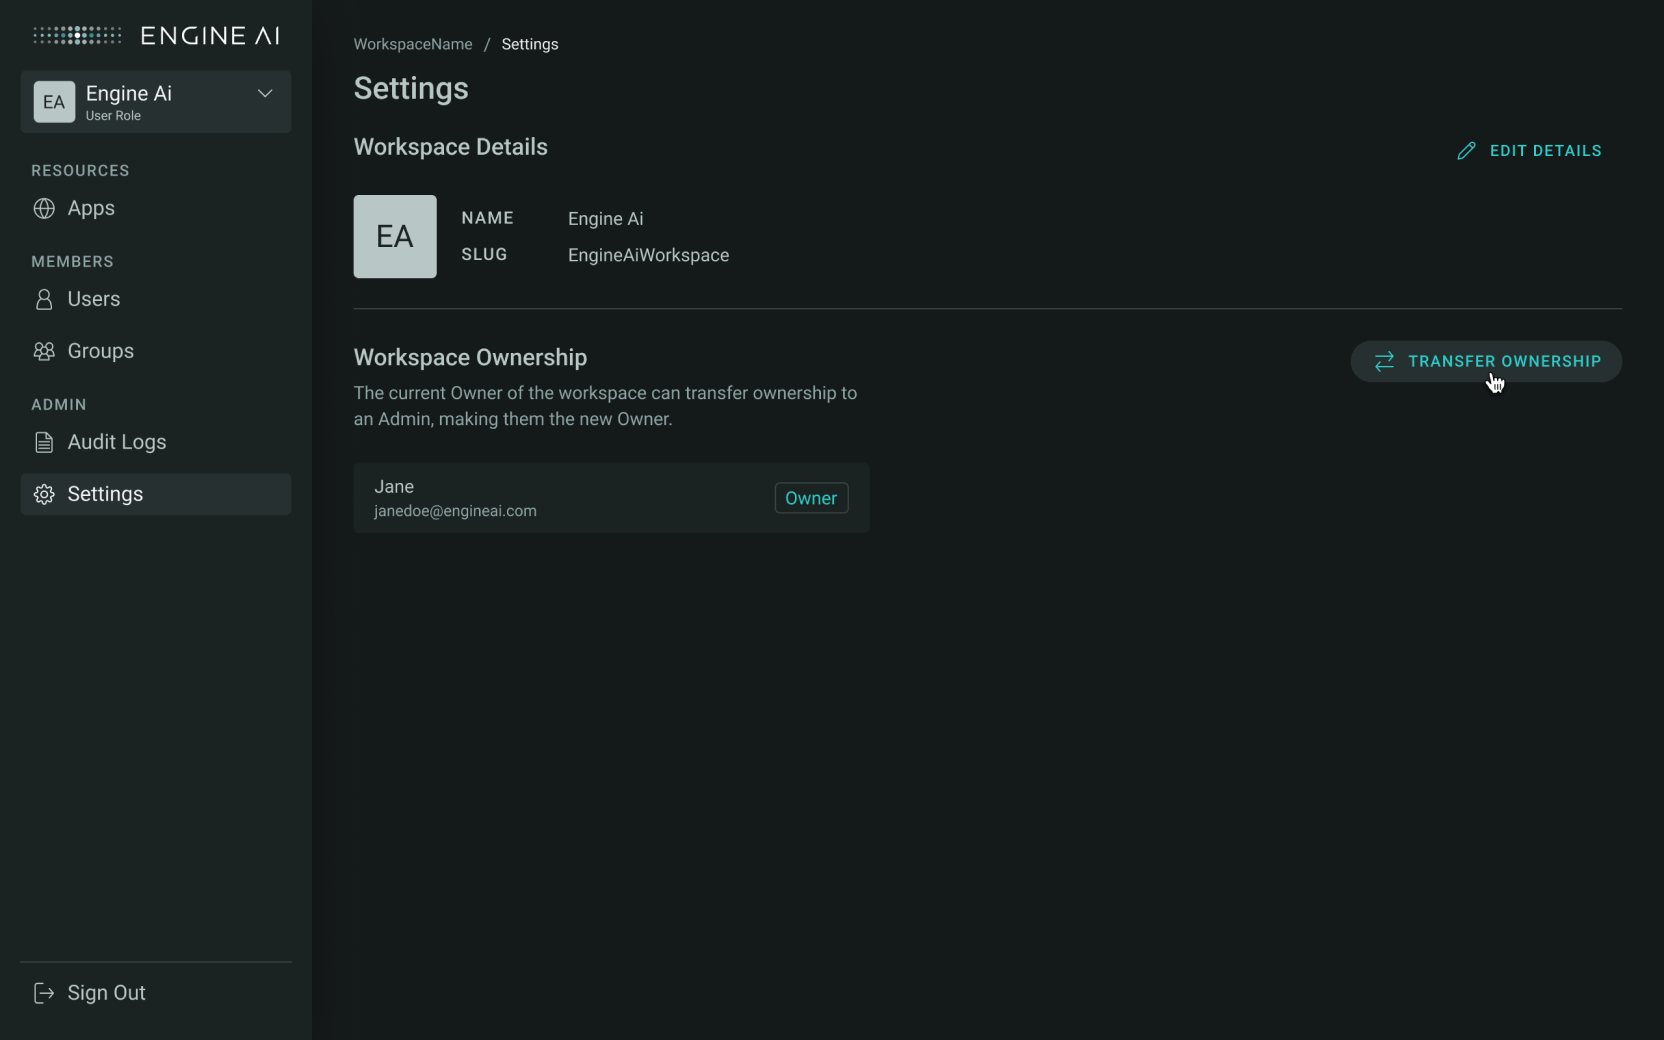
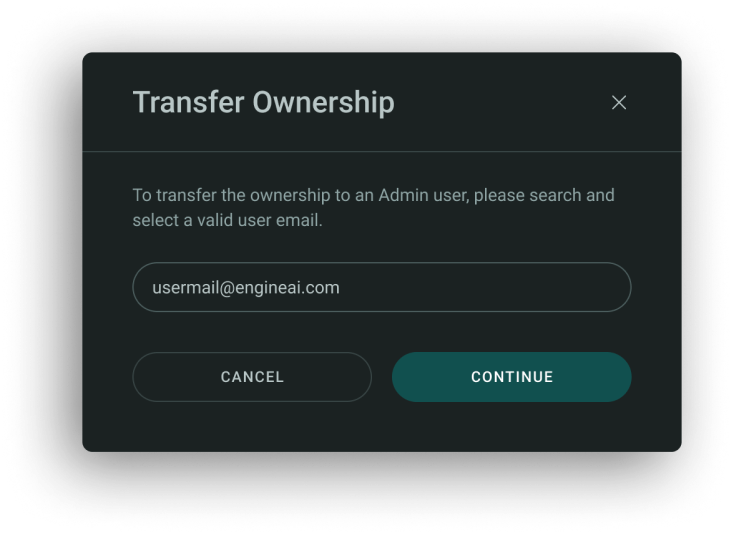
To transfer ownership:
- Click the Transfer Ownership button (only visible to Owner).
- Search for and select a valid Admin's email.
- You will be asked to confirm the transfer.
- Click Yes, Transfer to proceed.
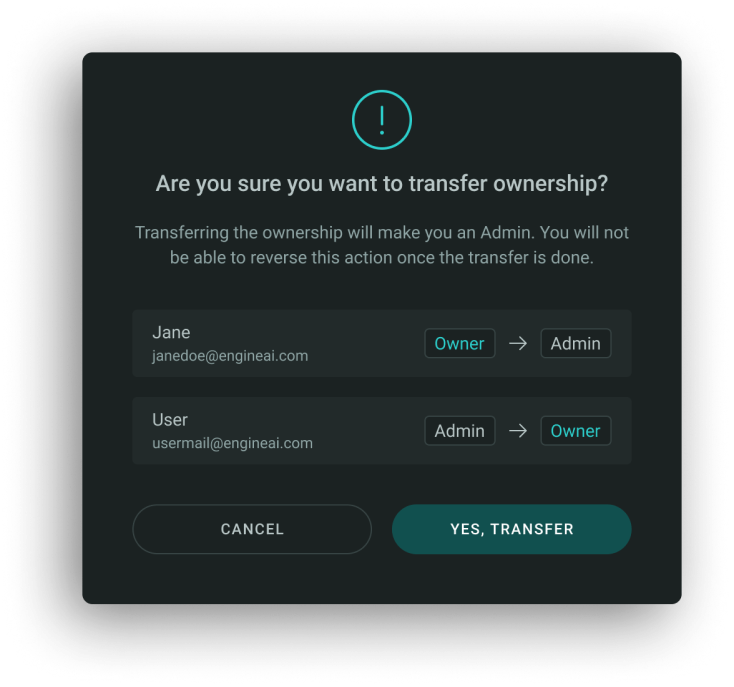
Once the transfer is complete:
- The previous Owner will no longer see the Transfer Ownership button.
- The permissions will update accordingly.
Delete Workspace#
Deleting a Workspace is a important action that permanently removes all associated data, apps, and configurations. Only the Workspace Owner can request this action, and it requires submitting a formal request via email to our support team.
Steps to Request Workspace Deletion:
- Confirm Ownership: Ensure you are the Workspace Owner and have access to the email address associated with your account.
- Prepare Your Request:
Include the following details in your email:
- Your Full Name and Contact Information: Provide details so our team can identify and contact you.
- Workspace Name and Slug: Specify the exact Workspace you wish to delete.
- Confirmation Statement: Include a statement acknowledging that:
- The deletion is irreversible.
- All associated data will be permanently removed.
- The deletion will be completed within 30 days.
- Send the Email: Submit your request to: support@engineai.com.
What Happens Next?
- Verification Process:
- Our team will review your request to confirm your ownership of the Workspace.
- Additional details or documents may be requested during this stage.
- Deletion Timeline:
- Once verification is complete, the Workspace will be scheduled for deletion.
- The process will be finalised within 30 days.
- You will receive a confirmation email once the Workspace is permanently deleted.
- Important Information:
- Permanent Action: Deleting a Workspace is final, and all associated data, apps, and configurations will be lost and cannot be recovered.
- Plan Accordingly: Before initiating the deletion process, ensure that any critical data is backed up or transferred.
Note
For assistance or further queries, contact our support team at support@engineai.com.